Vinyl Application
The installation of RTA (ready to apply) vinyl lettering can be tricky at times, but isn't difficult if you follow these rules.
1. Tape the graphic into position with small pieces of masking tape. After rechecking your measurements, draw registration marks from the application tape to the sign substrate.
To facilitate the installation of large markings, use a "top hinge". To make a top hinge, simply apply masking tape along the top edge of the graphic. With this method, you can remove the liner from the graphic in one piece before proceeding with the application. In a variation of the top hinge technique, you can cut between large individual letters so that each letter is independently hinged. Remove the sections of liner and install letter by letter. To make a center hinge, apply masking tape across the middle of the graphic. Using this technique, remove the liner from one half of the graphic, cutting the liner near the tape hinge. After you squeegee this section of the graphic, working from the hinge to the outer edge, remove the hinge and the remaining liner. Complete the application, starting at the initial squeegee stroke and working to the outer edge.
2. Typically, your first squeegee stroke begins at the center of a graphic. This first movement is straight up and down. To produce the necessary squeegee pressure for successful application, remember to push with your thumb on the bottom on the up stroke. (See illustration 2.)
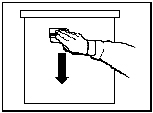
On the down stroke, push with your fingers on the top. (See illustration
3. Failure to maintain firm pressure often results in wrinkles and bubbles. (Minute bubbles are usually the result of inadequate squeegee pressure, a squeegee that is too soft or doesn't
have a flat edge.) 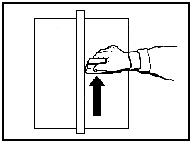
(Illustration #2)
(Illustration #3)
All subsequent up and down strokes work off the initial center stroke. Each stroke must overlap the previous one. Angle your squeegee slightly away from the center line. Imagine that you are pushing the air out from under the vinyl. Never angle the squeegee toward the center line...this produces bubbles.
4. To reposition the vinyl graphic on the substrate, give the material a sharp jerk with a snap of your wrist. This movement should be perpendicular to the substrate. Never use a slow pulling movement to reposition the graphic. This will stretch the material causing more problems.
5. To remove the application tape from the graphic, pull the tape against itself at a 180 angle. After removing the application tape, be sure to re-squeegee all your edges and overlaps.
(A credit card can be substituted for a squeegee)
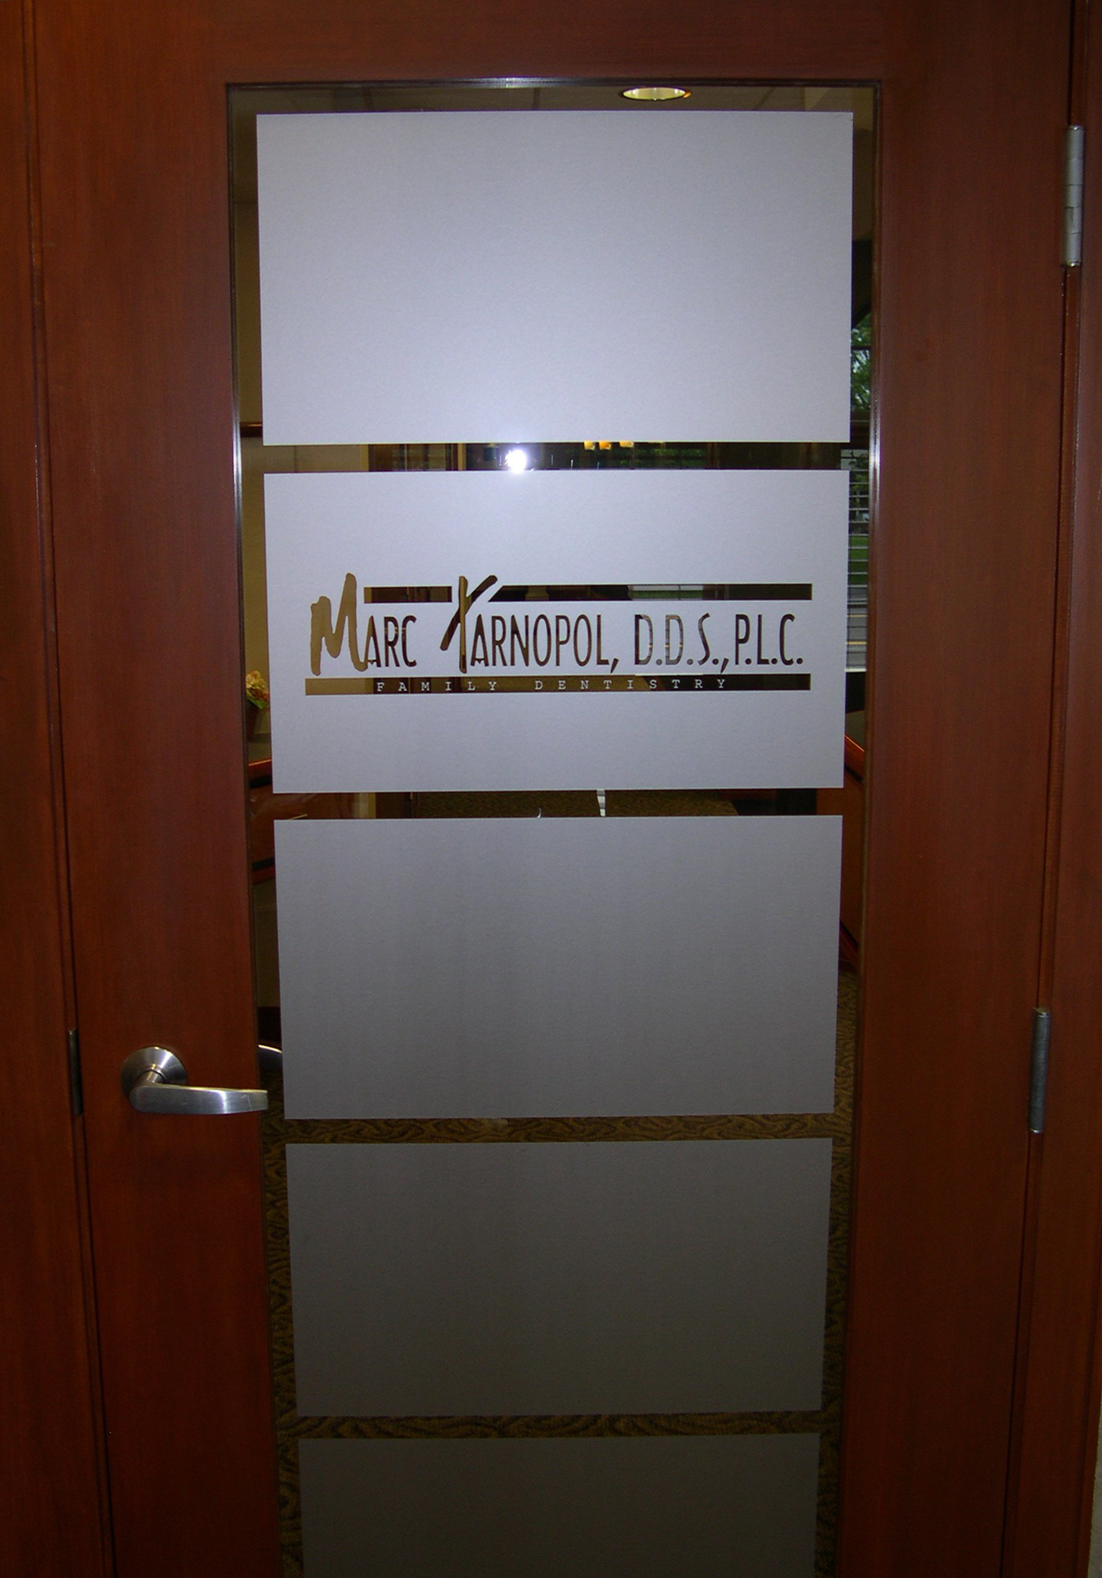
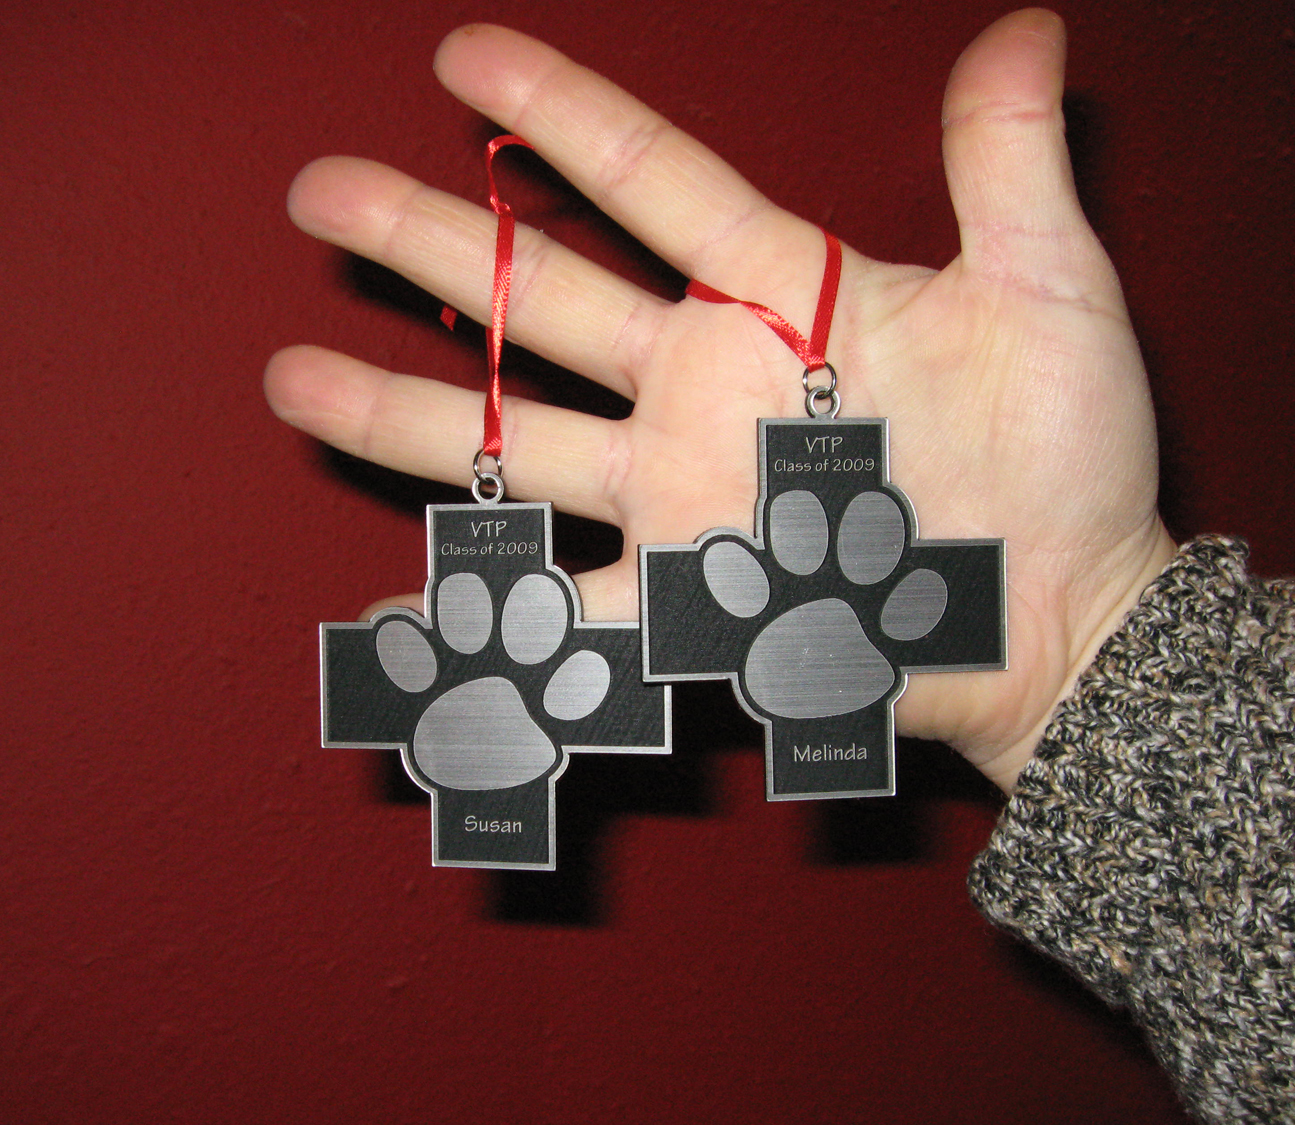
From the Gallery


Our Location
13101 Eckles Rd
Building 5
Plymouth, MI 48170
313-405-9735
Monday - Friday
9am-5pm
Useful Links
- Gallery Of Completed Work
- Vinyl Application
- Monthly Specials
- Links
- contact us
- Printing
- Banner
- What's New
Follow Us On


So You Know
If see small bubbles under the vinyl after application, most of those will work themselves out in the next 24-48 hours. If you have larger bubbles you can "pop" them with an xacto knife or sewing needle!